Developing with the Fleetbase API
The Fleetbase API provides developers with extensive capabilities to integrate and interact with the Fleetbase operating system. This guide covers essential topics, including authentication, working within live and test environments, and making API requests according to RESTful conventions.
You can find detailed API Reference and examples on our Postman docs.
Authentication and API Keys
The Fleetbase API uses API keys to authenticate requests. You can view and manage your API keys in the Fleetbase Developers Console.
Test mode secret keys have the prefix flb_test_ and live mode secret keys have the prefix flb_live_. Alternatively, you can use restricted API keys for granular permissions.
Your API keys carry many privileges, so be sure to keep them secure! Do not share your secret API keys in publicly accessible areas such as GitHub, client-side code, and so forth. Authentication to the API is performed via HTTP Basic Auth. Provide your API key as the basic auth username value. You do not need to provide a password. Or use your API key by setting it in the initial configuration of a Fleetbase SDK Client. The SDK will then automatically send this key in each request.
All API requests must be made over HTTPS. Calls made over plain HTTP will fail. API requests without authentication will also fail.
Obtaining API Keys
- Log In to Your Fleetbase Account: Start by logging into your account on the Fleetbase console.
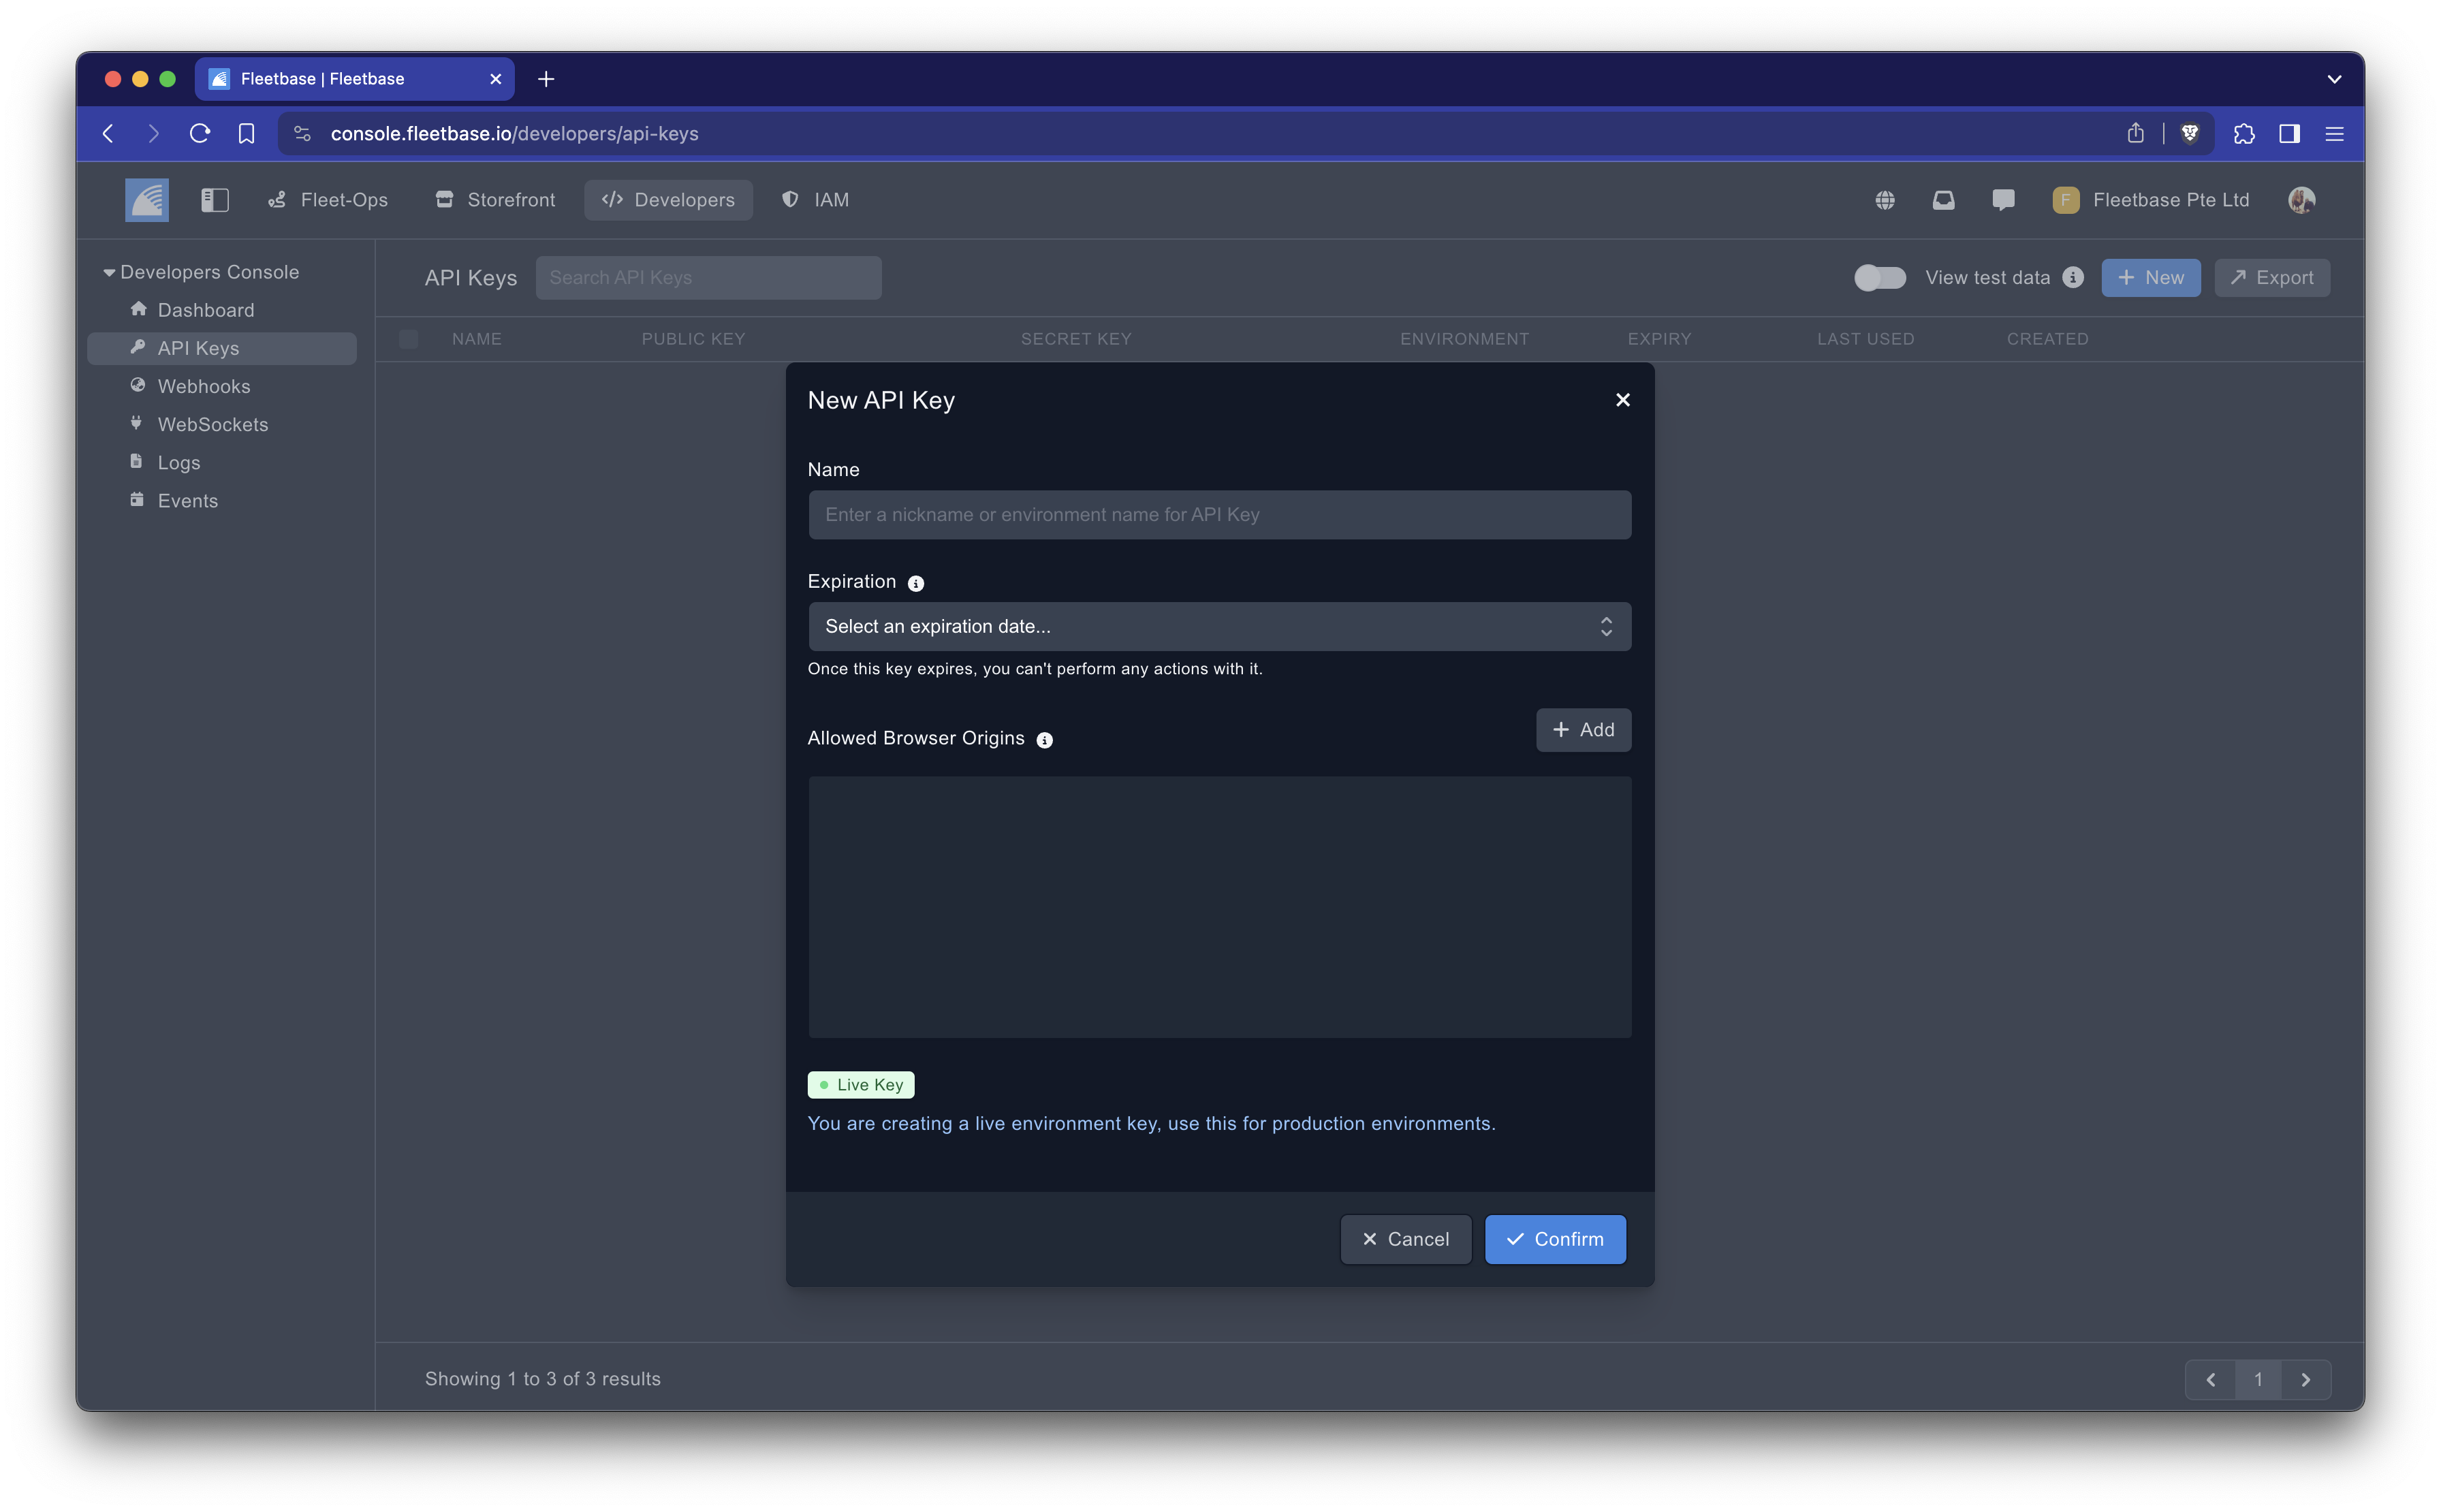
- Navigate to Developers: From the Developers extension, click into API Keys section where you can manage your API keys.
- Generate New API Key: Click on ‘New’ to create a new key. To specify whether you want a test or live environment key you should use the "View test data" toggle in the section header to enter the sandbox environment then create a new key.
Live vs. Test Environments
- Live Environment Keys: These keys are prefixed with
flb_live_and are used for operations that affect real data and real transactions. - Test Environment Keys: Prefixed with
flb_test_, these keys allow you to work in a sandbox environment where you can safely test applications without affecting real data.
Making Authenticated Request
Fleetbase uses Basic Auth for authenticating request. To make a authenticated request you must add the Authorization header and your Fleetbase API key as a Bearer token.
Authorization: Bearer flb_live_yourapikey
cURL Example
curl --location --request GET 'https://api.fleetbase.io/v1' \
    --header 'Accept: application/json' \
    --header 'Content-Type: application/json' \
    --header 'Authorization: Bearer flb_live_yourapikey'
Using the appropriate keys for your development stage ensures that testing does not interfere with your live operational data.
RESTful Conventions
The Fleetbase API follows RESTful principles, enabling you to interact with resources such as orders, vehicles, and drivers through standard HTTP methods.
HTTP Methods
- GET: Retrieve information about a resource or list of resources.
- POST: Create a new resource.
- PUT/PATCH: Update an existing resource. PATCH is typically used for partial updates, while PUT may require a complete resource representation.
- DELETE: Remove a resource.
Common API Request for Orders
Here are some examples of using these methods with the Fleetbase API:
GET: Get a list of Active Orders
curl --location --request GET 'https://api.fleetbase.io/v1/orders?status=active' \
    --header 'Content-Type: application/json' \
    --header 'Accept: application/json' \
    --header 'Authorization: Bearer flb_live_yourapikey'
POST: Create an Order
curl --location --request POST 'https://api.fleetbase.io/v1/orders' \
    --header 'Content-Type: application/json' \
    --header 'Accept: application/json' \
    --header 'Authorization: Bearer flb_live_yourapikey' \
    --data '{
        "pickup": "Singapore 018971",
        "dropoff": "321 Orchard Rd, Singapore"
    }
    '
PATCH: Dispatch an Order
curl --location --request PATCH 'https://api.fleetbase.io/v1/orders/{orderId}/dispatch' \
    --header 'Content-Type: application/json' \
    --header 'Accept: application/json' \
    --header 'Authorization: Bearer flb_live_yourapikey'
PUT: Update an Order
curl --location --request PUT 'https://api.fleetbase.io/v1/orders/{orderId}' \
    --header 'Content-Type: application/json' \
    --header 'Accept: application/json' \
    --header 'Authorization: Bearer flb_live_yourapikey' \
    --data '{
        "notes": "New order notes",
        "scheduled_at": "2024-02-11 05:03:02"
    }
    '
DELETE: Cancel an Order
curl --location --request DELETE 'https://api.fleetbase.io/v1/orders/order_7JOwsfW' \
    --header 'Content-Type: application/json' \
    --header 'Accept: application/json' \
    --header 'Authorization: Bearer flb_live_yourapikey'
Using the Fleetbase SDK
Fleetbase provides an SDK to simplify interacting with the API from various programming environments. Currently Fleetbase ships two official SDK's - PHP, and Javascript.
Currently there are no other unofficial SDK's available, but if you'd like to contribute or submit an SDK you can share it in our Discord and we will update this page.
Using the Javascript SDK
You can easily get started with developing in the node/javascript ecosystem by using our official Javascript SDK.
- Install the Javascript SDK: You can use your prefered package manager such as yarn, bun, or pnpm. In this example we simply use npm.
npm install @fleetbase/sdk
- Initialize Fleetbase:
const fleetbase = new Fleetbase('< api key here >');
- Using the SDK: In the below example, we will show you how to create an order.
const order = await fleetbase.orders.create({
    pickup: 'Singapore 018971',
    dropoff: '321 Orchard Rd, Singapore',
    entities: [
        {
            destination: 0,
            name: 'UltraHD 4K Smart TV',
            description: '65-inch high-definition smart TV with vibrant colors and a sleek design.',
            currency: 'SGD',
            price: 800.0,
        },
    ],
});
Using the PHP SDK
You can easily get started with developing in the PHP ecosystem by using our official PHP SDK.
- Install the PHP SDK:
composer require fleetbase/fleetbase-php
- Initialize Fleetbase:
$fleetbase = new \Fleetbase\Sdk\Fleetbase('< api key here >');
- Using the SDK: In the below example, we will show you how to create an order.
$order = $fleetbase->orders->create([
    'pickup' => 'Singapore 018971',
    'dropoff' => '321 Orchard Rd, Singapore',
    'entities' => [
        [
            'destination' => 0,
            'name' => 'UltraHD 4K Smart TV',
            'description' => '65-inch high-definition smart TV with vibrant colors and a sleek design.',
            'currency' => 'SGD',
            'price' => 800.00,
        ],
    ],
]);
Common API Topics
- Rate Limiting: Understand the API’s rate limits to ensure your application handles requests without interruption.
- Error Handling: Learn to effectively handle potential API errors and exceptions in your application code.
- Security Best Practices: Implement security measures such as HTTPS, keeping API keys secure, and validating API responses.
Conclusion
This guide provides you with the foundational knowledge required to effectively use the Fleetbase API for developing logistics solutions. By adhering to RESTful conventions and using the Fleetbase SDK, you can enhance your applications and seamlessly integrate sophisticated logistics management functionalities.